Installing a bunk bed can be a straightforward process with the right tools and clear instructions․ This guide provides a step-by-step walkthrough to ensure your bunk bed is assembled safely and securely․ Start by sorting components and following the provided instructions carefully․ Double-check all connections for stability and proper alignment to guarantee a durable and safe structure for years to come․ Whether you’re a beginner or a DIY enthusiast, this comprehensive guide will help you achieve a professional-looking result․
Tools and Materials Needed
To successfully assemble your bunk bed, gather the necessary tools and materials beforehand․ Essential tools include an Allen wrench, screwdriver (both Phillips and flathead), a socket wrench, and a rubber mallet for tapping parts into place․ Additionally, ensure you have a measuring tape, a level, and a stud finder if mounting the bed to a wall․ Materials required typically include bolts, washers, lag bolts, and wood screws․ Other components like slats, guardrails, and ladder parts will be provided with the bed kit․ Always verify the list of included hardware against the instruction manual to ensure no parts are missing․ Protect your workspace with a soft cloth or old sheets to prevent scratching the furniture․ Organizing all components and tools in a clear, accessible manner will streamline the assembly process․ Double-checking each item before starting ensures efficiency and prevents delays․ Proper preparation is key to a smooth and safe installation experience․

Unpacking and Organizing Components
Unpacking and organizing the components of your bunk bed is a crucial step to ensure a smooth assembly process․ Start by carefully unpacking each item from the boxes, taking note of any damage or missing parts․ Lay out all components on a flat, protected surface, such as a large table or section of the floor․ Separate and categorize the parts, such as frame pieces, slats, guardrails, and hardware, into distinct groups․ Refer to the instruction manual to identify each part and verify that everything is included․ Place smaller hardware, like bolts and washers, into labeled containers to prevent them from getting lost․ Organize larger pieces, such as side rails and support frames, in a logical order based on the assembly sequence․ This step not only saves time but also reduces the risk of errors during assembly․ By methodically unpacking and organizing, you’ll be well-prepared to tackle each stage of the installation process with confidence and clarity․

Assembly Steps
Begin by attaching side rails to the bottom frame using bolts and washers․ Insert slats into the side rails for support․ Secure guardrails to the upper bunk for safety․ Finally, install the ladder and ensure all connections are tight․ Follow instructions carefully for a sturdy structure․
4․1․ Assembling the Frame
To begin assembling the bunk bed frame, start by attaching the side rails to the bottom and top frames․ Use the provided bolts and washers to secure these components tightly․ Ensure the rails are properly aligned and the corners are squared before tightening the bolts completely․
Next, insert the slats into the side rails․ These slats provide the necessary support for the mattresses․ Make sure each slat is securely fastened with the appropriate screws, following the manufacturer’s instructions for spacing and alignment․
Once the slats are in place, attach the support arms to the upper frame․ These arms will help distribute the weight evenly and ensure the bunk bed remains stable․ Use a rubber mallet to tap components into place gently to avoid damaging the wood or stripping screws․

Finally, double-check all connections to ensure they are tight and properly secured․ This step is crucial for maintaining the structural integrity of the bunk bed and ensuring it can support the maximum weight safely․ Always refer to the provided instructions for specific details on assembling your particular model․

4․2; Attaching Guardrails
Attaching guardrails is a critical step in ensuring the safety and stability of the bunk bed․ Begin by identifying the guardrail components in your kit, which typically include side rails and brackets․ These are designed to prevent accidental falls from the upper bunk․
Start by attaching the guardrails to the upper bunk frame․ Align the guardrail brackets with the pre-drilled holes on the side rails and secure them using the provided bolts․ Tighten these bolts firmly to ensure the guardrails are stable and cannot shift under pressure․
If the bunk bed will be placed against a wall, position the full-length guardrail along the side facing the wall to prevent entrapment․ For the opposite side, attach the remaining guardrail to ensure full protection․ Use a spirit level to verify the guardrails are evenly aligned and secure․
Once all guardrails are in place, test their stability by gently applying pressure․ Ensure there are no gaps or loose connections, as these could compromise safety․ Always follow the manufacturer’s instructions for specific guardrail configurations and tightening procedures․
Remember, guardrails are essential for preventing accidents, especially for children․ Double-check all connections and ensure they meet the recommended safety standards before allowing anyone to use the bunk bed․
4․3․ Installing the Ladder
Installing the ladder is the final step in completing the bunk bed assembly․ Begin by locating the ladder components, which typically include side rails, rungs, and hardware such as bolts or screws․ The ladder usually attaches to the upper bunk frame using brackets that need to be securely bolted to the bed frame for stability․
To ensure proper alignment, use the pre-drilled holes on the side rails and align the ladder brackets accordingly․ Use a spirit level to verify that the ladder is straight and evenly positioned․ Once aligned, tighten the bolts firmly to prevent any wobbling or movement․
After attaching the ladder, test its stability by climbing up and down to ensure it feels secure․ If the ladder feels shaky, check the bolts and ensure all parts are properly fastened․ Safety is crucial, especially for children, so double-check the ladder’s sturdiness and consider additional safety features if needed․
Inspect the ladder’s material for any sharp edges or splinters, and ensure all connections are tight․ Refer to the manufacturer’s instructions for specific recommendations on tools and bolts to use․ Finally, conduct a thorough inspection to confirm all parts are secure and the ladder is at a comfortable climbing angle․
By following these steps, the ladder will be safely and correctly installed, completing the bunk bed assembly process effectively․

Safety Precautions and Guidelines
Ensuring safety is paramount when installing and using a bunk bed․ Always follow the manufacturer’s safety guidelines and precautions to prevent accidents․ Start by attaching guardrails to both long sides of the upper bunk to prevent falls․ If the bed is placed next to a wall, position the full-length guardrail against the wall to avoid entrapment hazards․

Adhere to the weight limits specified by the manufacturer, typically not exceeding 90 kg per berth․ Avoid standing on the bed or using the ladder as a support for heavy objects․ Regularly inspect the bunk bed for loose connections, damaged components, or wear and tear․ Tighten any loose bolts or screws immediately to maintain stability․
Ensure the ladder is securely attached and positioned at a comfortable climbing angle․ Teach children to climb carefully and avoid horseplay on the bed․ Keep the area around the bunk bed clear to prevent tripping․ For added safety, consider installing bed rails or safety nets, especially for younger children․
Periodically check the slats, supports, and joints for strength and durability․ Address any issues promptly to ensure the bunk bed remains safe and stable․ Always refer to the manufacturer’s instructions for specific safety recommendations tailored to your bunk bed model․
By following these safety precautions, you can create a secure and enjoyable sleeping environment for everyone using the bunk bed․

Maintenance and Upkeep Tips
Regular maintenance is essential to ensure your bunk bed remains sturdy, safe, and functional over time․ Start by periodically inspecting the bed for loose bolts or screws and tighten them immediately to prevent instability․ Check the guardrails, ladder, and slats for any signs of damage or wear and tear․ Replace any damaged components promptly to maintain safety standards․

Keep the bed frame clean and dry to avoid moisture damage or corrosion․ For wooden bunk beds, consider applying a protective finish periodically to preserve the material․ Ensure the mattress is properly aligned and supported by the slats to prevent sagging or uneven wear․
Teach children to climb the ladder carefully and avoid bouncing or standing on the upper bunk․ Encourage them to keep the area around the bed clutter-free to reduce tripping hazards․ For added protection, consider using bed rail guards or safety nets, especially for younger users․
Lastly, always adhere to the manufacturer’s weight limits and guidelines to prevent overloading the bed․ Regularly check the bed’s stability and address any issues before they escalate․ By following these maintenance tips, you can extend the lifespan of your bunk bed and ensure it remains a safe and comfortable sleeping solution․

Customizing Your Bunk Bed
Customizing your bunk bed allows you to personalize its look and functionality to suit your preferences or match your room’s decor․ One popular way to customize is by adding a fresh coat of paint or stain to the frame, giving it a unique color or finish․ You can also modify the guardrails by adding decorative trim or padding for extra comfort and style․
Another creative idea is to incorporate storage solutions, such as built-in drawers, shelves, or baskets under the lower bunk․ This not only enhances functionality but also keeps the room organized․ For added convenience, you can attach hooks or hanging organizers to the sides of the bed for jackets, bags, or accessories․
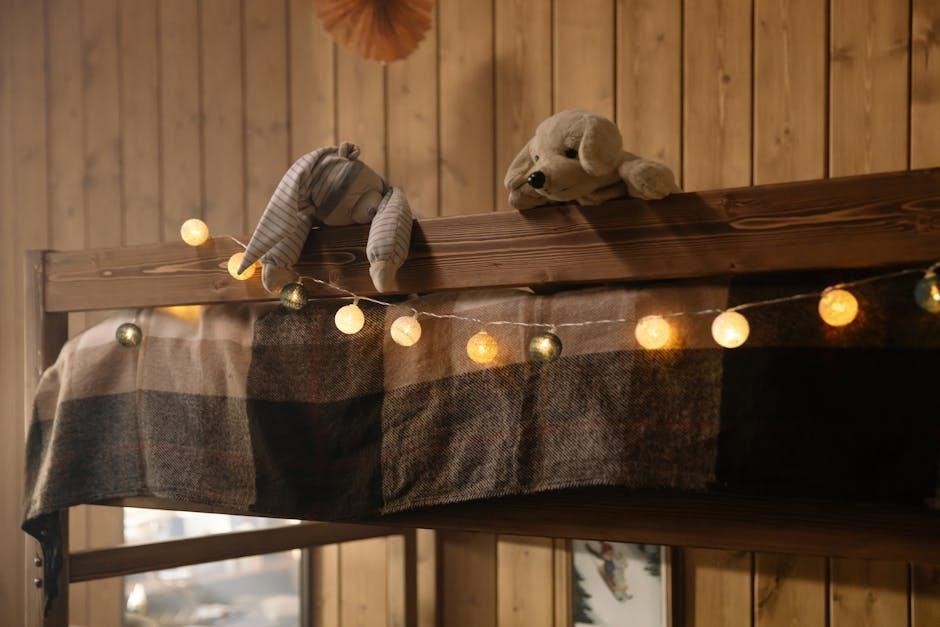
If you’re crafty, consider adding themed elements, such as nautical ropes, fairy lights, or themed bedding, to create a cozy and inviting atmosphere․ You can also personalize the ladder by adding non-slip steps or decorative rungs for a custom look․ Additionally, you can install a canopy or curtains around the upper bunk for privacy and a touch of elegance․
Lastly, involve your kids in the customization process by letting them choose the theme or accessories, making the bunk bed feel like their own special space․ These small touches can turn a standard bunk bed into a unique and functional piece of furniture that reflects your personal style․